Title here
Summary here
When you build a website, one of the most important decisions you’ll make is where to host it. Web hosting determines how your site is stored, served to visitors, and kept online. Today, there are many hosting options, ranging from powerful cloud platforms to hosting a site yourself on small hardware like a Raspberry Pi.
Cloud providers are companies that rent out servers over the internet. Popular options include Linode, Microsoft Azure, AWS, and Google Cloud.
You rent a virtual server (often called a VPS or VM)
You deploy your website on that server
The provider handles hardware, networking, and uptime
High reliability: Data centers have backup power and strong internet connections
Scalable: Easily upgrade CPU, memory, or storage as your site grows
Global reach: Many providers let you host close to your users
Professional tools: Monitoring, backups, and security features are built in
Monthly cost: Even small servers usually cost money
Learning curve: Platforms like Azure can be complex for beginners
Overkill for small sites: Simple personal sites may not need this power.
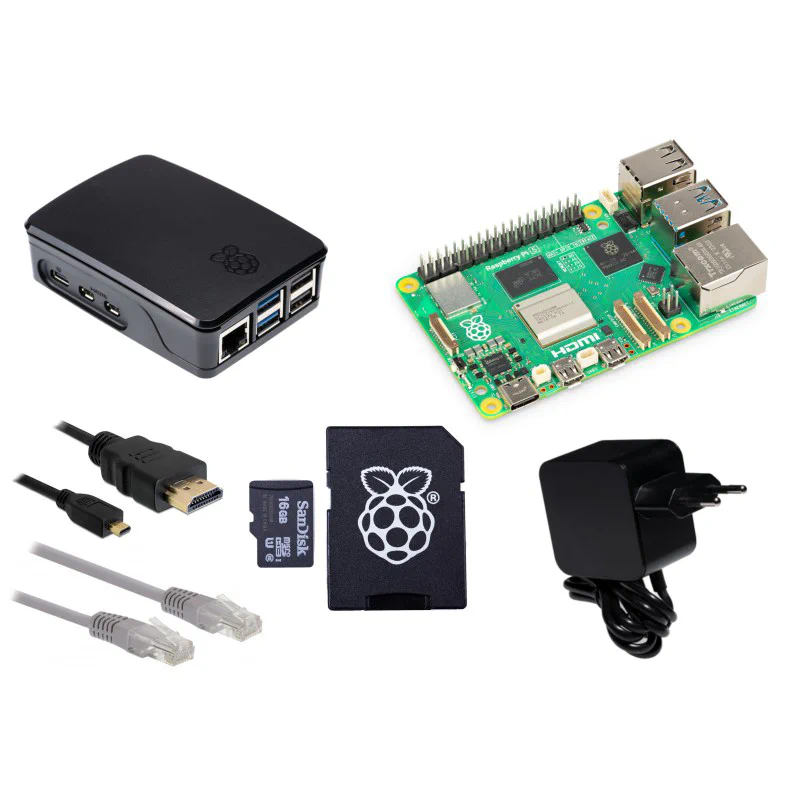
Self-hosting means running your own server at home. A popular way to do this is using a Raspberry Pi, a small and inexpensive computer.
You install a web server (like Nginx or Apache) on the Raspberry Pi
You connect it to your home internet
Your website is served directly from your device
Very low cost
Full control over hardware and software
Great learning experience
No monthly hosting fees
Lower reliability (power outages, internet downtime)
Slower performance
Security responsibility is entirely yours
More setup and maintenance
Download the Raspberry Pi Image
Use the following Guide to set up the Raspberry Pi.
sudo apt install nginxsudo systemctl start nginxsudo vim /etc/nginx/sites-available/default location / {
proxy_pass http://localhost:3000;
proxy_http_version 1.1;
proxy_set_header Upgrade $http_upgrade;
proxy_set_header Connection 'upgrade';
proxy_set_header Host $host;
proxy_cache_bypass $http_upgrade;
}sudo systemctl restart nginx/etc/nginx/sites-available/defaultserver_name www.example.comsudo systemctl restart nginxsudo apt-get install certbotsudo apt-get install python3-certbot-nginxsudo certbot --nginx -d example.com -d www.example.comhttps://www.example.comGithub
Clone the Github Repo and run the following commands:
git clone https://github.com/jaimeen12/NodeJS-Passport
npm init -y
npm install
node app.js